Chances are, if you are like most of us, you are suddenly realizing that you didn’t get ready for Easter and maybe don’t have money or time to make things happen. Or maybe the Easter bunny forgot your house this year and you are planning to do better next year. Well, if you have a decent pantry and a few craft supplies, you can get some Easter activities in for the bunny and for Jesus.


First, let’s take care of talking about Jesus. Grab a paper plate per person. Leaving the outer rim uncut, cut inside about half way around. Little guys will definitely need the grownups for that part. Fold that flap up. Kids color the bottom half to look like ground. Cut two strips of brown construction paper or card stock and glue together to make a cross. You could make two smaller crosses if you are ambitious or want to extend this for the bigger kids. Either way, you have the cross on the hill of Calvary and a great chance to talk about Jesus and his death and resurrection.

Another craft I did with my boys is to make a white handprint on black paper (I think we used Tempra). Then we added red in the center for blood and wrote, “Paid in Full,” on the bottom of the page. They don’t get it yet, but we are building their knowledge blocks and talking about Jesus and not just eggs and bunnies… which we will do next.


For these cute little guys, trace your child’s hand (older children could probably make these without help) onto the color of paper you would like your bunny to be. Cut out. Cut off the middle paper finger. Fold the pinky and thumb inward. Add a bunny face and the pink inner ear with marker or crayon. We added these to cards that we sent to grandparents and people from our church in nursing homes. We were able to quickly make several of these.

Didn’t buy a fancy egg dying kit? No problem! You probably have everything you need in your kitchen. Grab boiled eggs (I use my instant pot), vinegar, food coloring, some bowls or jars and spoons (I don’t recommend plastic). Get crayons, stickers, and rubber bands if you want to get fancy.
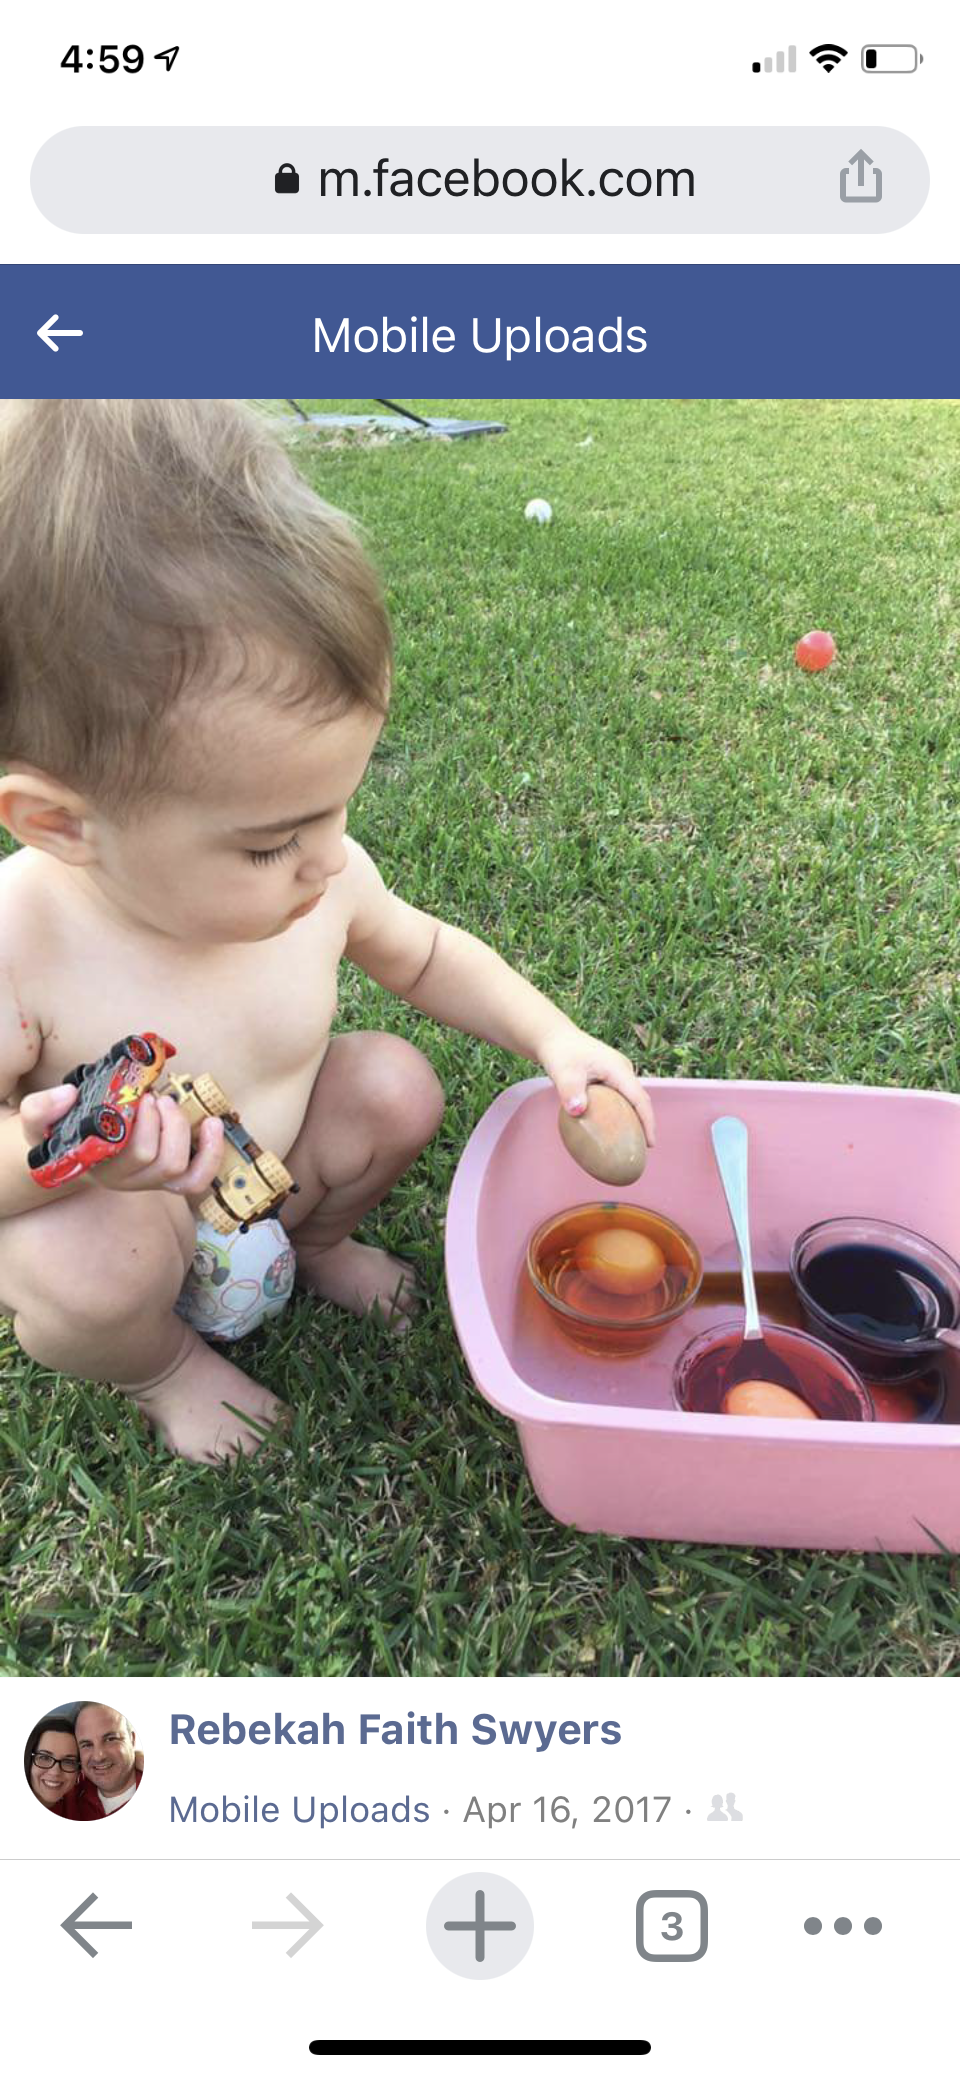
First, boil water. I used an average size pot. I usually use 4-5 colors but do you. Get that many bowls and place a capful or splash of vinegar (I never measure except for baking. I’m guessing a 1/2 tablespoon.) in each bowl and about 15 drops of your chosen color food coloring. You can mix the coloring if you want something different. Add boiling water to each bowl very carefully. Stir carefully and then move to your covered or outdoor location.

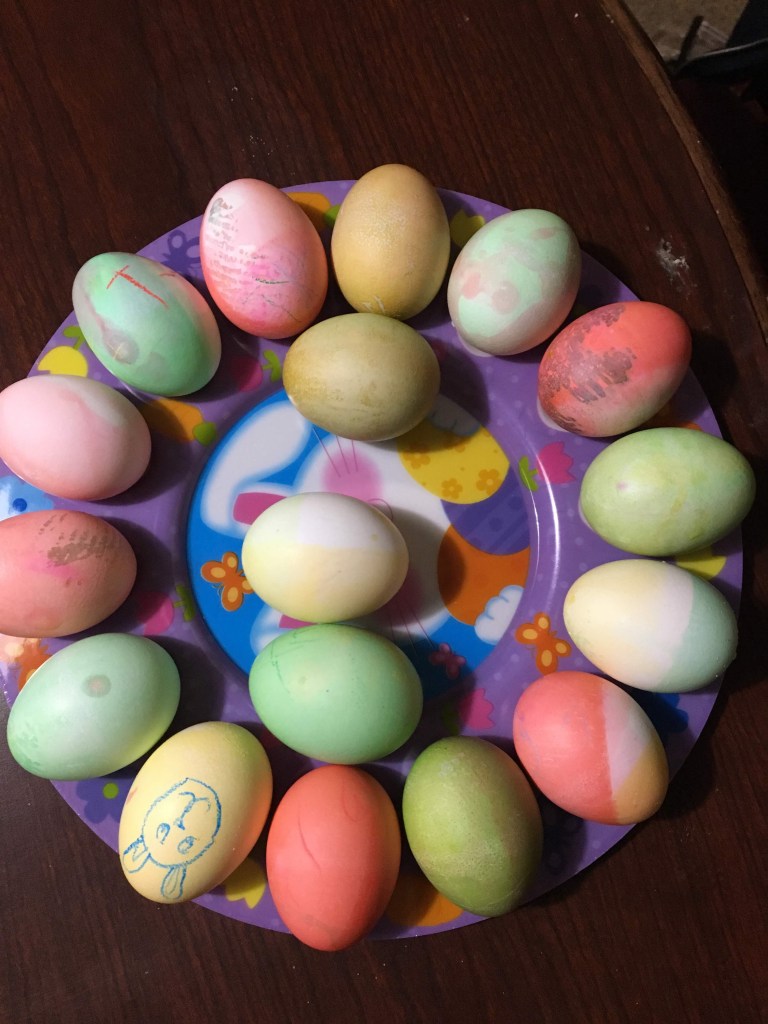
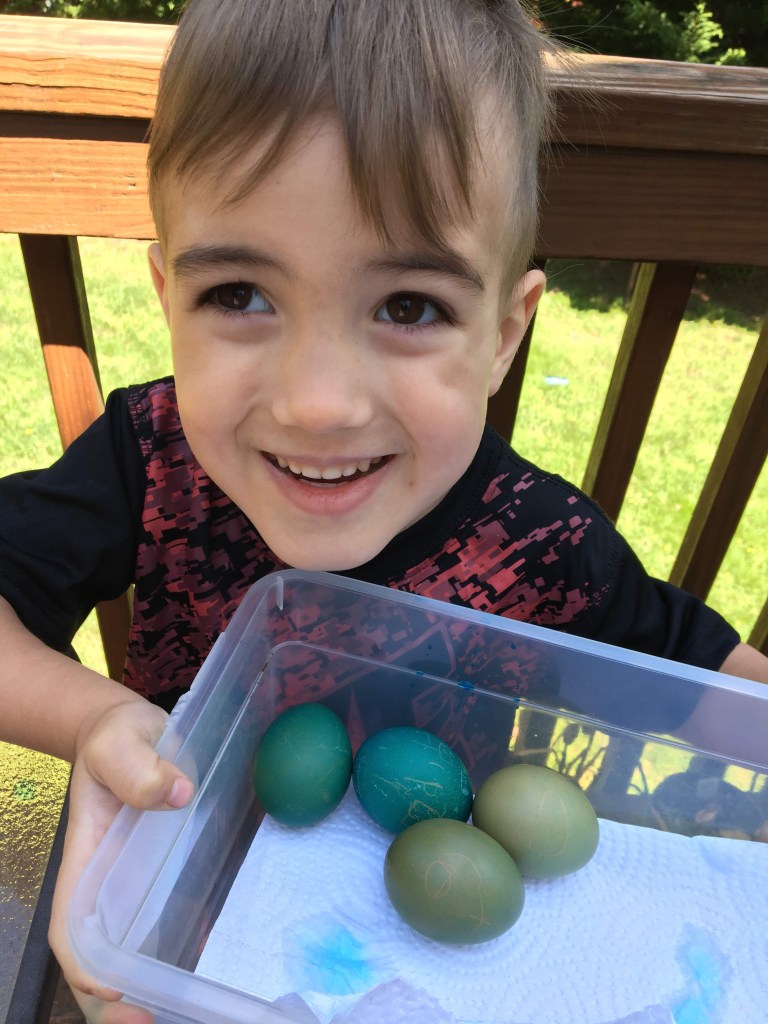
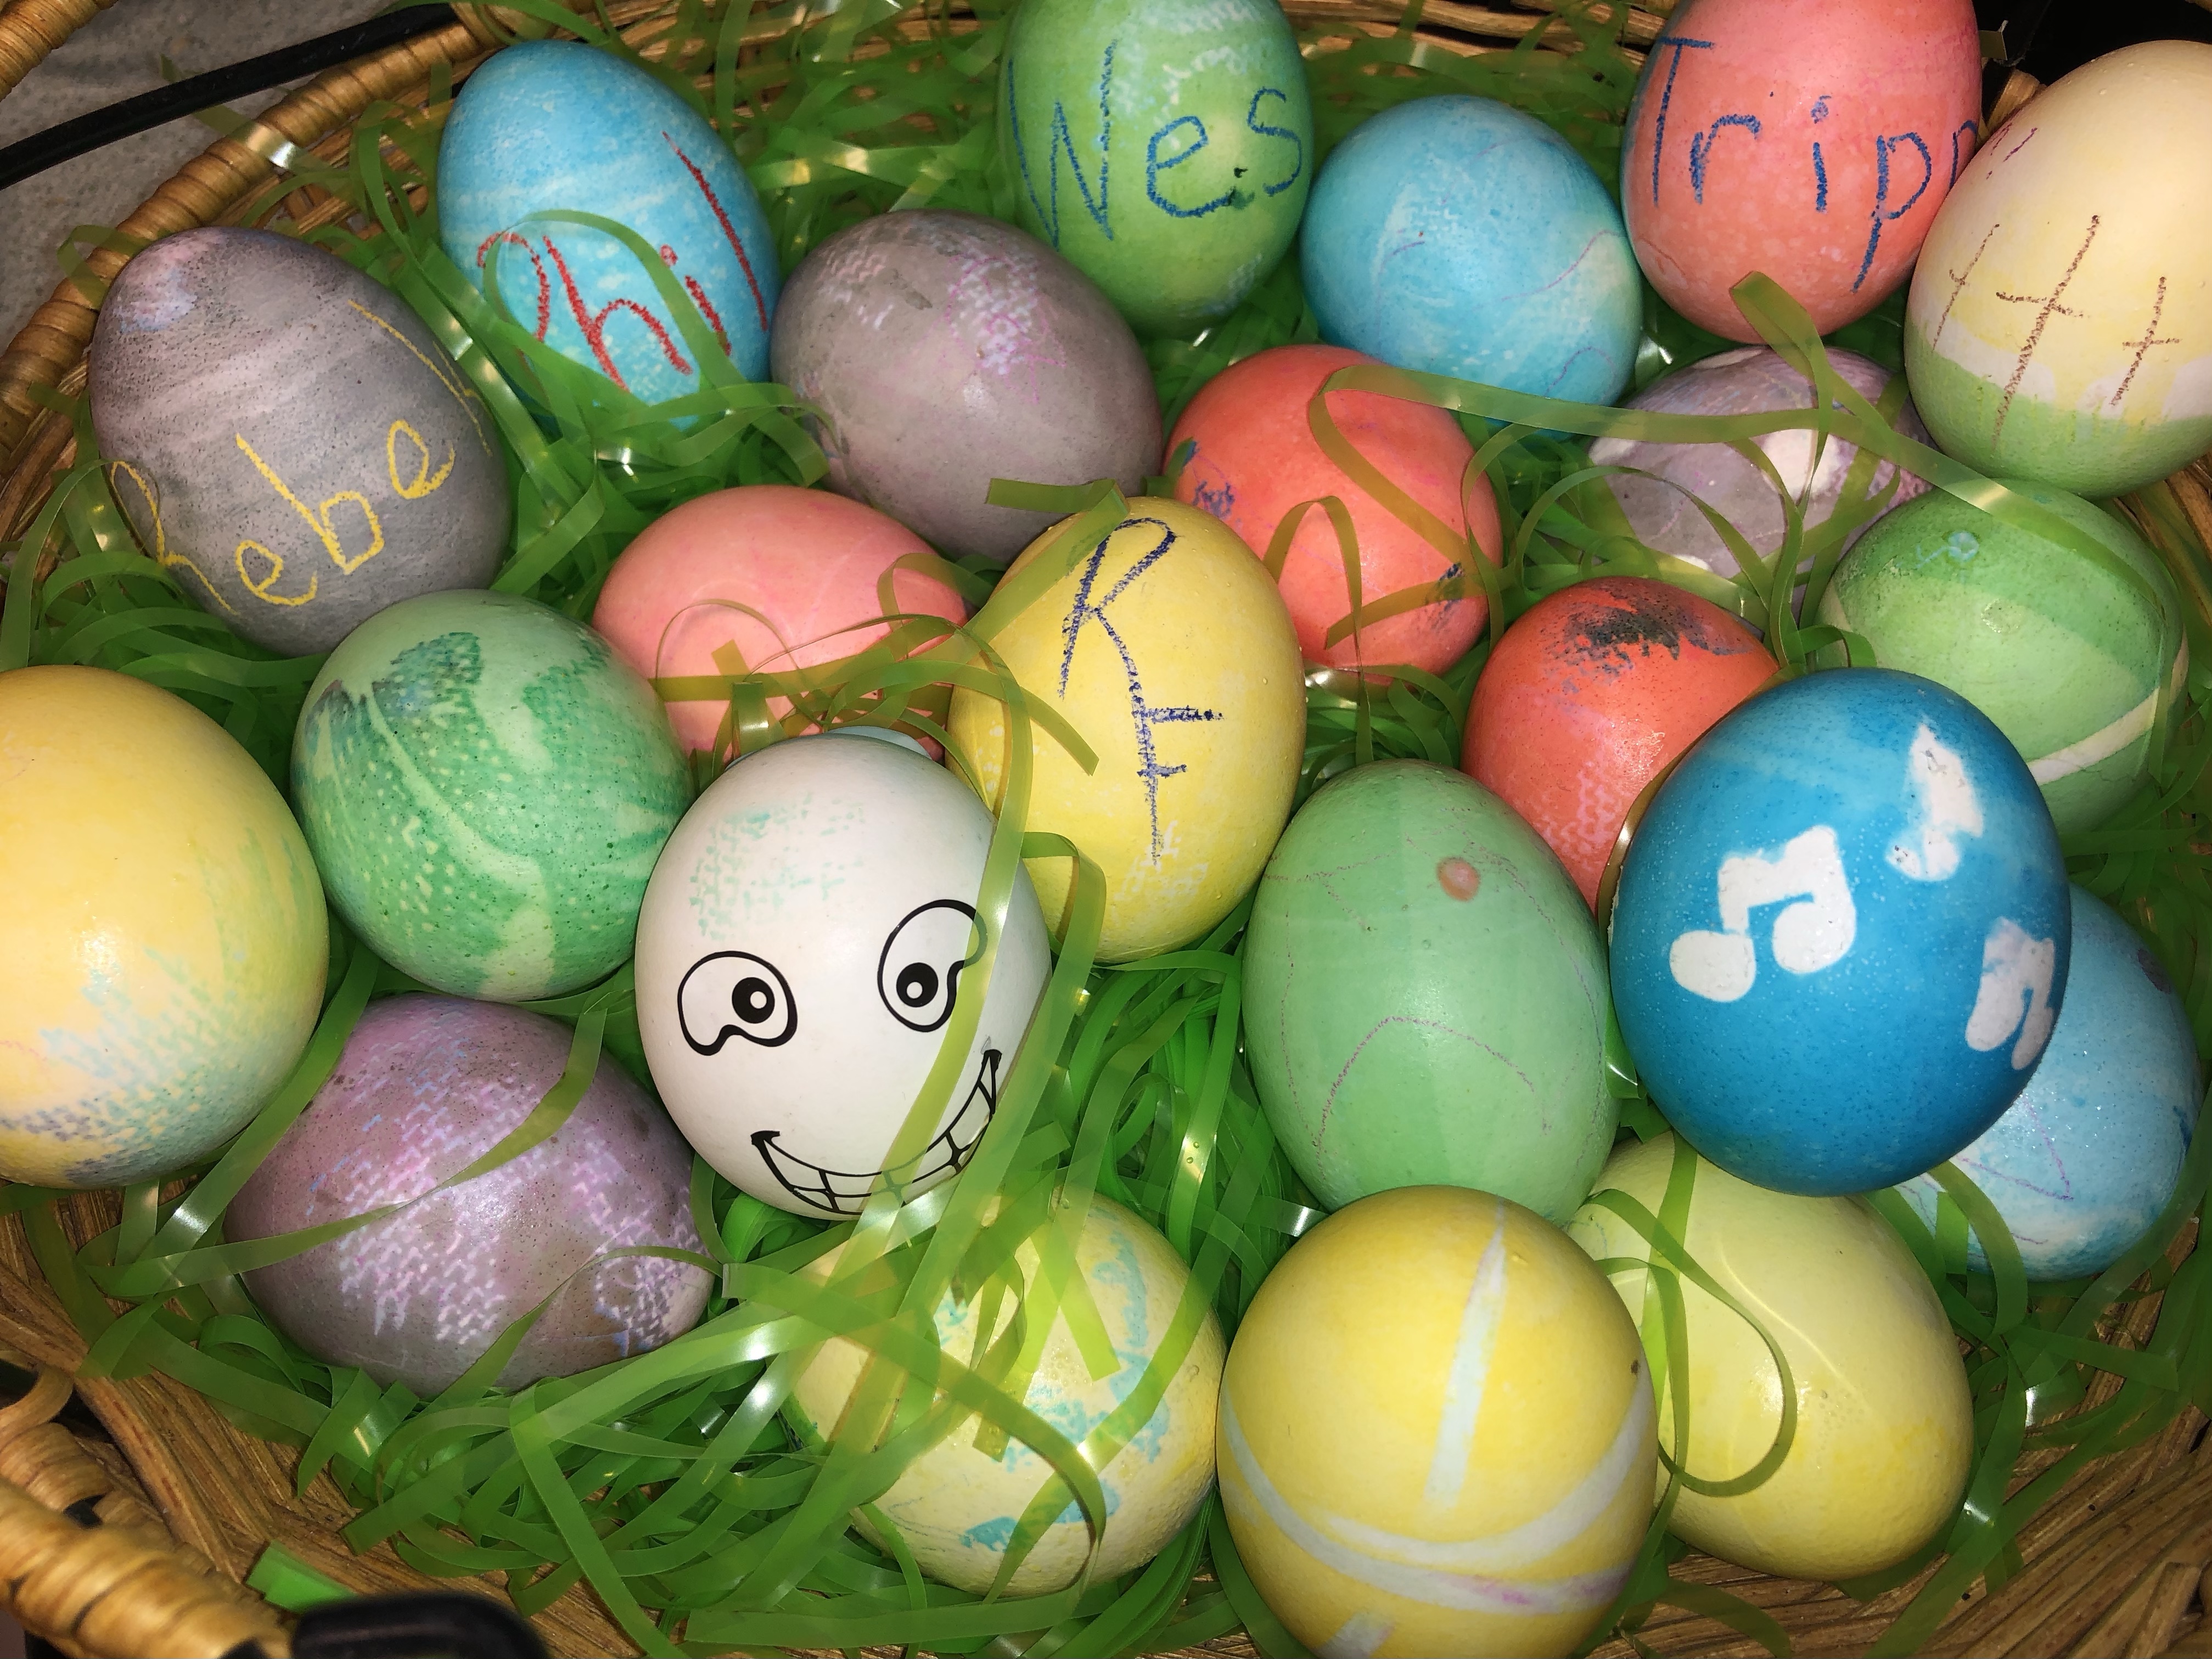
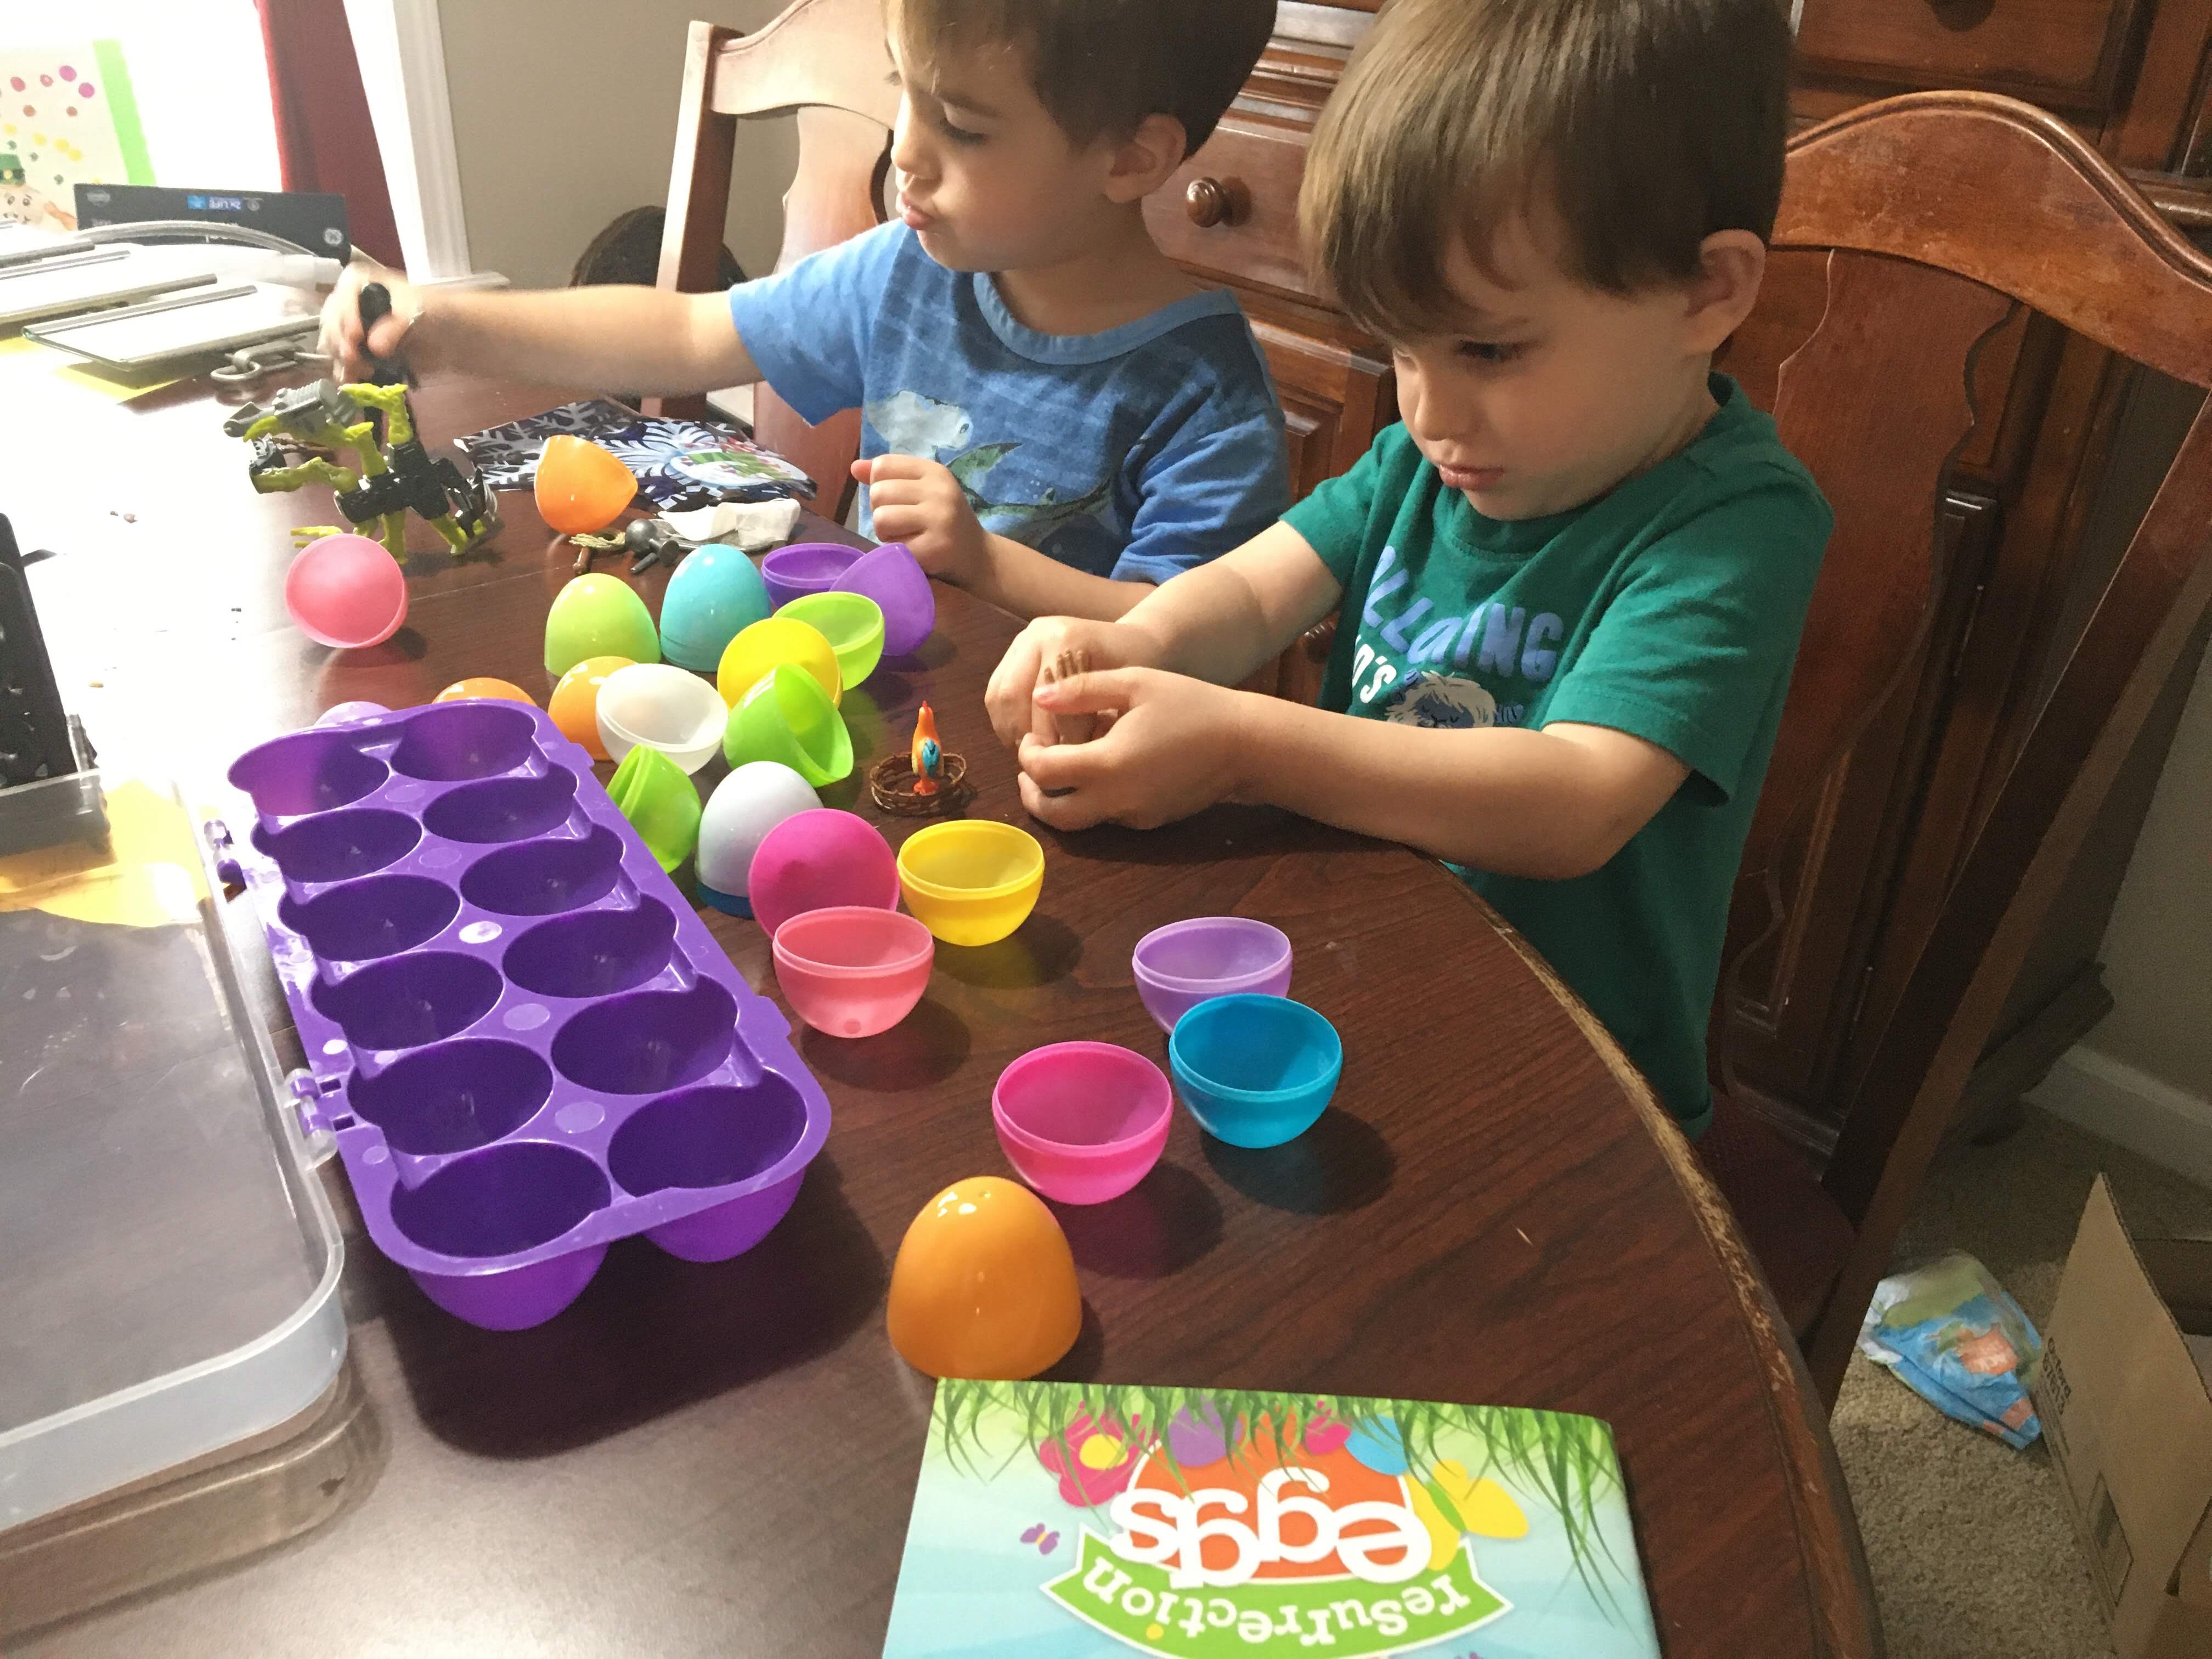
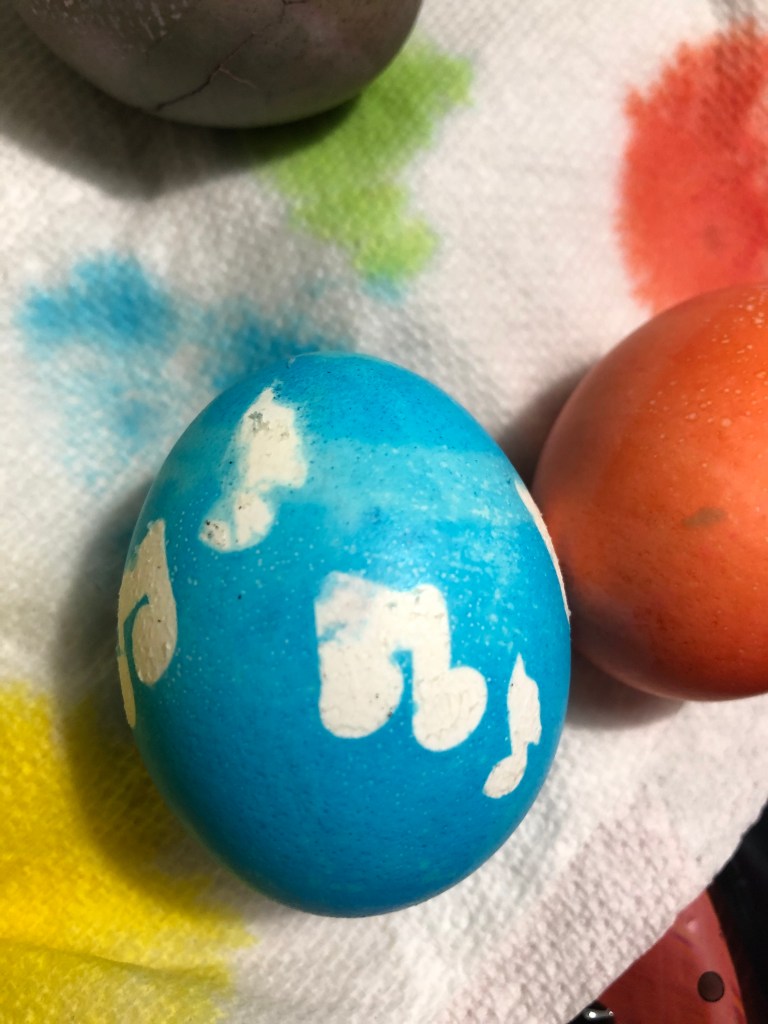
Now, you can move straight to dying or you can draw/write with crayon for a little resist action, put shaped stickers on or wrap rubber bands around and then color the eggs with the dye. Pictures below. Allow each egg to sit in its colored dye for 5 minutes or so. The longer you do, the more intense the pigment. Then remove to an egg crate with paper towels or a small stack of paper towels to dry. If you used stickers or rubber bands remove them. You will have gorgeous eggs for pennies!


I hope you found these ideas helpful in your family celebrations or find them helpful for next year. Holidays and Holy days don’t have to be expensive to be special.
I also want to apologize that I can no longer remember where I got these ideas. We have been using them for a while now so they have become part of our family. I do want to shout out to ABC Jesus Loves me (abcjesuslovesme.com) for getting me started so early teaching my guys about Jesus. I had no idea how much my knights could learn so early!